The process for customizing stamping parts
Customization has become a significant trend in modern manufacturing, as consumers increasingly seek unique and personalized products. One method that enables manufacturers to meet these demands is customizing stamping parts. This process involves creating specialized stamping tools to shape raw materials into custom-designed parts. In this post, we will take a closer look at the process of customizing stamping parts
Table of Contents
Understanding customer requirements
The first step in customizing stamping parts is understanding the specific requirements and preferences of the customer. This involves careful communication and collaboration between the manufacturer and the customer to determine the desired material, size, shape, and finish of the part. Detailed specifications and design requirements are collected from the customer to serve as the basis for the customization process.
Design and engineering
Once the design requirements are finalized, the next step is to create the design for the custom part. This may involve using computer-aided design (CAD) software to create a 3D model of the part, incorporating the customer’s specifications. The design is carefully engineered to ensure that it can be translated into a stamping tool and that it meets the functional and aesthetic requirements of the customer.
Tooling creation
After the design is finalized, specialized stamping tools are created. These tools, also known as dies, are typically made from high-quality steel and are crafted with precision to match the desired shape of the custom part. The dies are carefully engineered to withstand the high-pressure forces used in the stamping process and are optimized for efficiency.
Material selection and preparation
The appropriate material for the custom part is selected based on the customer’s requirements and the design of the part. Metal sheets, such as steel, aluminum, or brass, are commonly used in stamping. The selected material is then prepared, which may involve cutting, cleaning, and/or prepping the material to be fed into the stamping machine.
Stamping process
The prepared material is then positioned between the upper and lower dies of the stamping machine. The dies are pressed together with precision force, shaping the material into the desired form. This process may involve multiple stages or operations, depending on the complexity of the part being customized. The stamping process is typically automated for consistency and efficiency, and it may involve additional operations such as bending, embossing, or piercing, depending on the design requirements.
Quality control and finishing
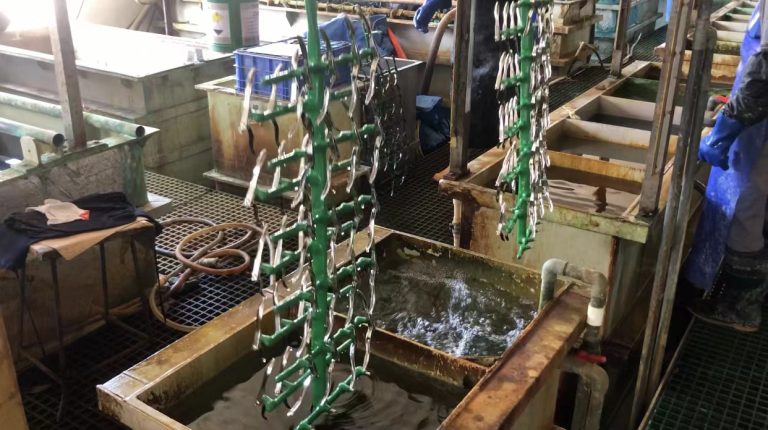
Once the stamping process is complete, the custom parts are carefully inspected for quality control. Any defects or imperfections are identified and addressed. The custom parts may also undergo additional finishing operations, such as deburring, polishing, or coating, to achieve the desired surface finish and appearance.
Final assembly and packaging
After the custom parts have passed quality control and finishing, they may be assembled with other components, if required, to create the final product. The custom parts are then carefully packaged, ready for shipment to the customer.
Overall, the process for customizing stamping parts involves careful design and engineering, specialized tooling creation, material selection and preparation, stamping process, quality control, finishing, and final assembly and packaging. This tailored manufacturing approach allows manufacturers to create unique and personalized products that meet the specific requirements and preferences of their customers.

